Introduction
Remember that magical moment as a child, pressing your face against the glass at your favorite ice cream shop, watching as creamy swirls of fresh ice cream were crafted before your eyes? Today, the Ninja Creami brings that same enchanting experience right into your kitchen. This revolutionary appliance has transformed the way home cooks approach frozen desserts, making it possible to create professional-quality treats with minimal effort and maximum creativity.
Gone are the days of settling for rock-hard, freezer-burned ice cream or paying premium prices for artisanal flavors. The Ninja Creami has democratized the art of frozen dessert making, allowing everyone from novice cooks to culinary enthusiasts to experiment with countless flavor combinations and textures. Whether you’re dreaming of velvety gelato, refreshing sorbet, or indulgent ice cream, these Ninja Creami recipes will elevate your dessert game to new heights.
In this comprehensive guide, we’ll unlock the secrets to creating the smoothest, creamiest frozen treats you’ve ever tasted. From classic vanilla bean to innovative flavor combinations, you’ll discover how to master this game-changing kitchen tool and create desserts that will have your family and friends begging for more.
Table of Contents

Nutritional Information
- Calories: 245
- Fat: 18g
- Carbohydrates: 20g
- Protein: 2g
- Sugar: 19g
- Sodium: 65mg
Why You’ll Love Ninja Creami Recipes
Quick and Easy
Transform frozen mixtures into creamy desserts in minutes with just the push of a button. No ice cream maker or constant churning required.
Endless Customization
Create virtually any frozen treat you can imagine, from dairy-free sorbets to protein-packed ice creams.
Cost-Effective
Save money by making premium frozen desserts at home instead of buying expensive specialty ice creams.
Dietary Control
Control ingredients and portions while accommodating various dietary restrictions and preferences.
Key Ingredients and Substitutions
Base Ingredients
- Heavy Cream: Creates rich, creamy texture
- Substitute: Coconut cream for dairy-free options
- Sugar: Provides sweetness and proper texture
- Substitute: Monk fruit sweetener or erythritol for sugar-free versions
- Milk: Adds smoothness
- Substitute: Almond milk, oat milk, or any plant-based milk
- Stabilizers: (Optional) Xanthan gum or guar gum for smoother texture
- Substitute: Corn starch or arrowroot powder
How to Make Ninja Creami Recipes (Step-by-Step)
Step 1: Preparation (The Foundation of Success)
Think of preparation as building the foundation of a house – it needs to be perfect for everything else to work. Begin by gathering all ingredients at room temperature, which ensures even mixing and prevents unwanted ice crystals. Your Ninja Creami pint container should be spotlessly clean and completely dry – even a drop of water can affect the final texture.
Essential prep steps:
- Remove ingredients from refrigerator 30 minutes before mixing
- Wipe container with a lint-free cloth to ensure absolute dryness
- Set up a clean workspace with all tools within reach
- Have a rubber spatula ready for thorough scraping
- Keep measuring tools handy for precise portions
Step 2: Mixing (The Art of Combination)
Mixing is where science meets artistry. Start with your liquid ingredients – they form the base that will carry all other flavors. The key is to create a perfectly homogeneous mixture without incorporating excess air.
Detailed mixing process:
- Pour liquid ingredients into a medium bowl, starting with the heaviest (usually cream)
- Whisk gently but thoroughly to combine
- In a separate bowl, mix dry ingredients to prevent clumping
- Gradually sprinkle dry ingredients into wet while whisking constantly
- Continue mixing until you achieve a perfectly smooth consistency
- Test by running the mixture off your whisk – it should flow smoothly without any graininess
Step 3: Freezing (The Waiting Game)
Proper freezing is crucial for achieving the perfect texture. The 24-hour freeze time isn’t just a suggestion – it’s a scientific necessity that allows the molecular structure to set properly.
Freezing guidelines:
- Pour mixture into pint container slowly to prevent air pockets
- Tap container gently on counter to release any trapped air
- Leave precisely 1/2 inch headspace for expansion
- Seal container firmly but don’t overtighten
- Place container in the coldest part of your freezer
- Keep freezer door closed to maintain consistent temperature
Step 4: Processing (The Transformation)
This is where the magic happens. The Ninja Creami’s unique processing technology transforms your frozen base into creamy perfection.
Processing steps:
- Remove pint from freezer and let stand for exactly 5 minutes
- Wipe any frost from the container exterior
- Install pint into the outer bowl, ensuring it’s properly seated
- Select the appropriate function for your recipe
- Allow full processing cycle to complete
- Assess texture immediately after processing
- Re-spin if needed for ultimate creaminess
Expert Tips for Success
Temperature Control
- Freeze base mixture at 0°F (-18°C) or lower
- Allow frozen pint to temper 5 minutes before processing
- Store processed desserts at -5°F (-21°C) for optimal texture
Texture Solutions
- Use “Re-spin” function for creamier results
- Add 1 tablespoon liquid for icy results
- Mix in solid ingredients after initial processing
Common Pitfalls to Avoid
- Don’t overfill containers
- Avoid excessive air in mixture before freezing
- Don’t process for longer than recommended

Variations and Customizations
Flavor Variations
- Chocolate Lovers
- Add 1/4 cup cocoa powder to base recipe
- Mix in chocolate chips after processing
- Fruit Forward
- Blend in 1 cup fresh fruit before freezing
- Use “Sorbet” function for fruit-only treats
- Protein Packed
- Add 2 scoops protein powder to base
- Reduce sugar accordingly
Dietary Modifications
- Keto: Use sugar alternatives and heavy cream
- Vegan: Use coconut cream and plant-based milk
- Low-Fat: Use light cream and skim milk
Storage and Reheating Instructions
Storage
- Keep processed desserts in original pint containers
- Store at -5°F (-21°C) or lower
- Use within 2 weeks for best quality
Softening
- Let sit at room temperature 5-10 minutes
- Re-spin if needed
- Never microwave
Serving Suggestions
Perfect Pairings
- Fresh fruit toppings
- Toasted nuts
- Homemade sauces
- Cookie crumbles
Presentation Ideas
- Layer in glass bowls
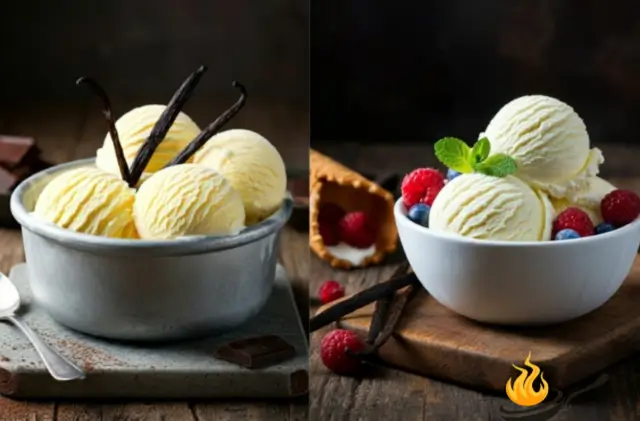
- Create sundaes
- Make ice cream sandwiches
- Serve in cones
Frequently Asked Questions
How long should I freeze my base mixture?
24 hours minimum at 0°F (-18°C) or lower for best results.
Why is my ice cream too soft?
Common causes include insufficient freezing time or too much alcohol/sugar in the mixture.
Can I use frozen fruit?
Yes, but thaw and drain excess liquid before adding to your base mixture.
How do I prevent ice crystals?
Use stabilizers, ensure proper sugar content, and maintain consistent freezer temperature.
Related Recipes
- No-Churn Ice Cream Variations
- Traditional Gelato Base
- Dairy-Free Sorbet Collection
Conclusion
Your journey into the world of Ninja Creami recipes is more than just following instructions – it’s about unleashing your creativity and discovering the joy of creating restaurant-quality frozen desserts in your own kitchen. With the techniques and tips shared in this guide, you’re now equipped to craft everything from classic favorites to innovative new flavors that reflect your unique taste and imagination.
Remember that perfection comes with practice. Feel free to explore and experiment with various ingredients, proportions, and methods to make it uniquely yours. . Each batch you make will teach you something new about the art of frozen dessert making. The Ninja Creami isn’t just an appliance; it’s your passport to endless frozen dessert possibilities.
As you begin your frozen dessert-making adventure, keep this guide handy and refer back to it often. Share your creations with loved ones, document your successes, and learn from any challenges. The world of homemade frozen treats awaits, and with your Ninja Creami, you’re ready to create something truly spectacular.
Ready to start your frozen dessert journey? Your first batch of creamy, dreamy perfection is just a recipe away. Grab your Ninja Creami, select your ingredients, and get ready to experience the satisfaction of creating your own professional-quality frozen treats. Happy churning!

Ninja Creami Recipes: Homemade Frozen Treats Made Easy In 10 Min
Ingredients
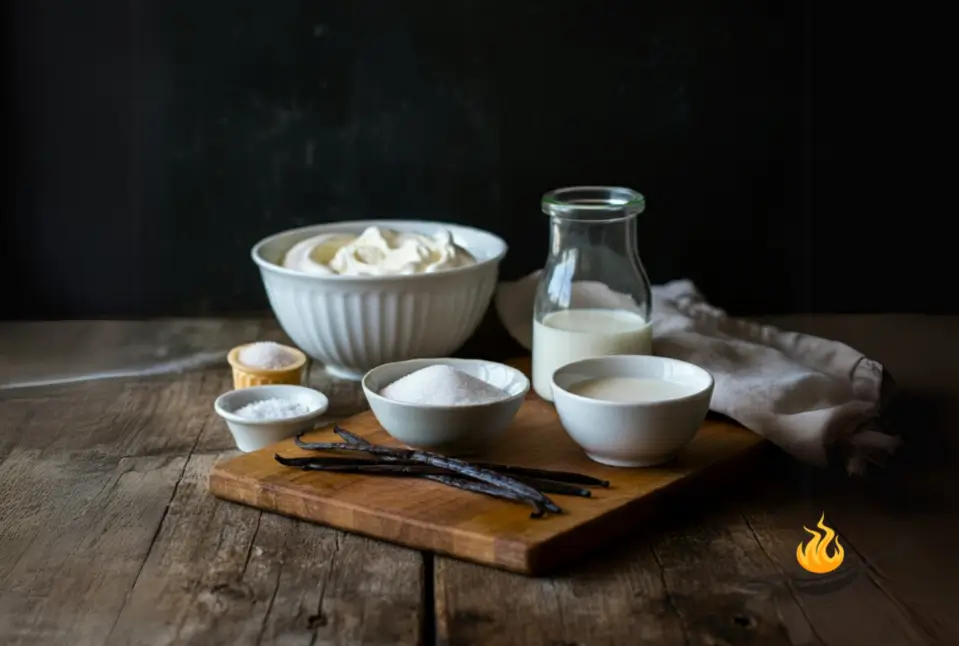
- 2 cups heavy cream
- ½ cup granulated sugar
- 1 whole vanilla bean – carefully slice lengthwise and scrape out the tiny black seeds inside alternatively, use 2 teaspoons pure vanilla extract for convenience”
- ¼ cup whole milk
- ⅛ tsp salt
Instructions
- In a medium bowl, whisk together heavy cream and sugar until sugar dissolves
- Add vanilla bean seeds (or extract), milk, and salt
- Whisk until well combined
- Transfer the mixture into a clean Ninja Creami pint container
- Secure the lid tightly on the container and freeze it for a full 24 hours.
- After the 24-hour freeze, remove your Ninja Creami pint container from the freezer and allow it to temper at room temperature for exactly 5 minutes. This brief tempering period is crucial for achieving the perfect texture – don’t skip this step or let it sit longer than 5 minutes.” .
- Insert pint into the Ninja Creami outer bowl
- Select “Ice Cream” function and process
- Re-spin if needed for creamier texture


2 thoughts on “Ultimate Guide to Ninja Creami Recipes: Homemade Frozen Treats Made Easy In 10 Min”